In this guide, we will walk you through the Cisco ISE posture configuration process, a crucial step to ensure the security and compliance of devices before they access your network.
The posture check is a way to assess the health of a device to ensure it meets the company’s security requirements. For example, the system might check if the device has the latest security software updates, EDR (Endpoint Detection and Response) definitions. If the device passes these checks, it will be granted access to network resources. This helps keep the network secure by making sure only healthy devices can connect.
How does Cisco identity Service engine posture work in the backend?
To perform the posture assessment of an endpoint a posture agent needs to run which then further sends the posture state to the Cisco Identity services engine. Posture state can be either compliant or non-compliant or unknown. The posture agent also needs a compliance module that helps in accessing the posture status of the endpoint. We need to ensure the latest compliance module is been used on the ISE.
Refer to the previous post on the blog for advanced Cisco ISE posture configuration using script conditions.
Cisco ISE posture Configuration – Overview
The configuration involves the below 6 steps:
1> Define posture condition.
2> Create Requirements.
3> Create a posture policy.
4> Create a client provisioning policy.
5> Create an authorization profile and authorization policy.
6> Endpoint 802.1x configuration and agent installation on endpoint.
Cisco ISE posture configuration – Posture Condition
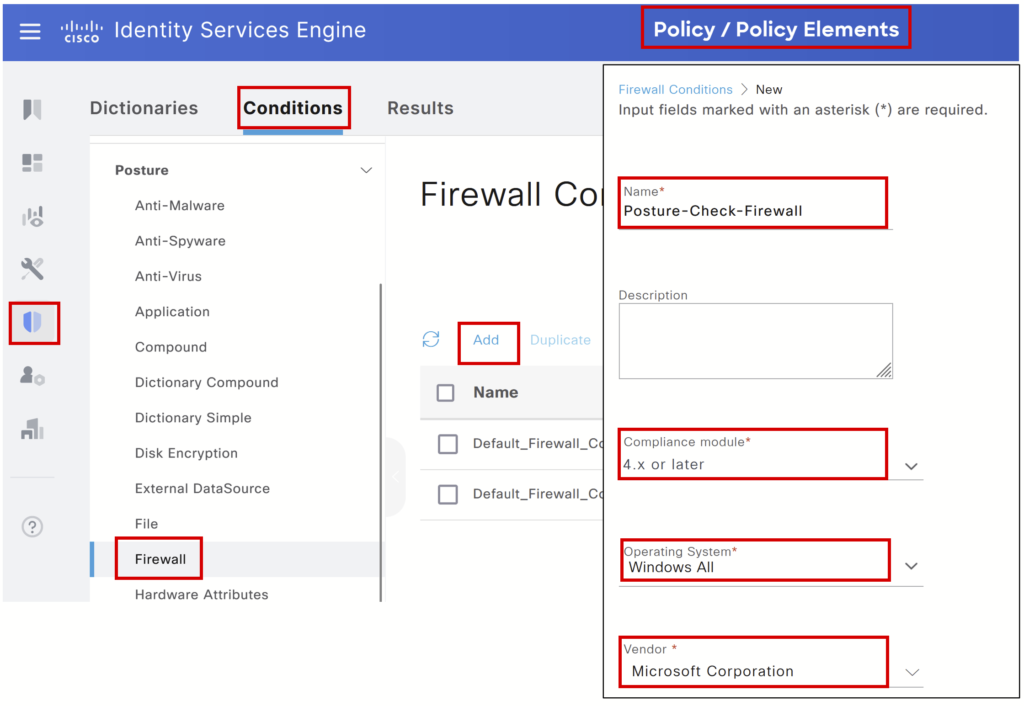
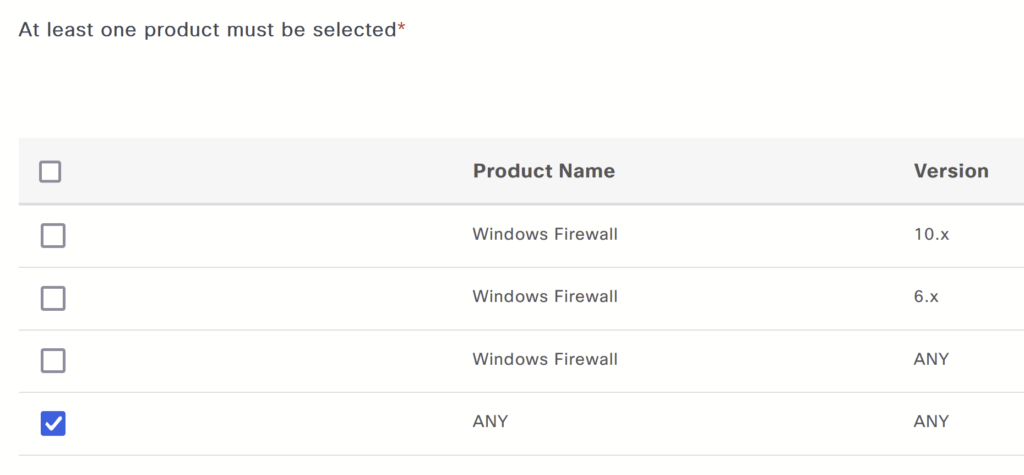
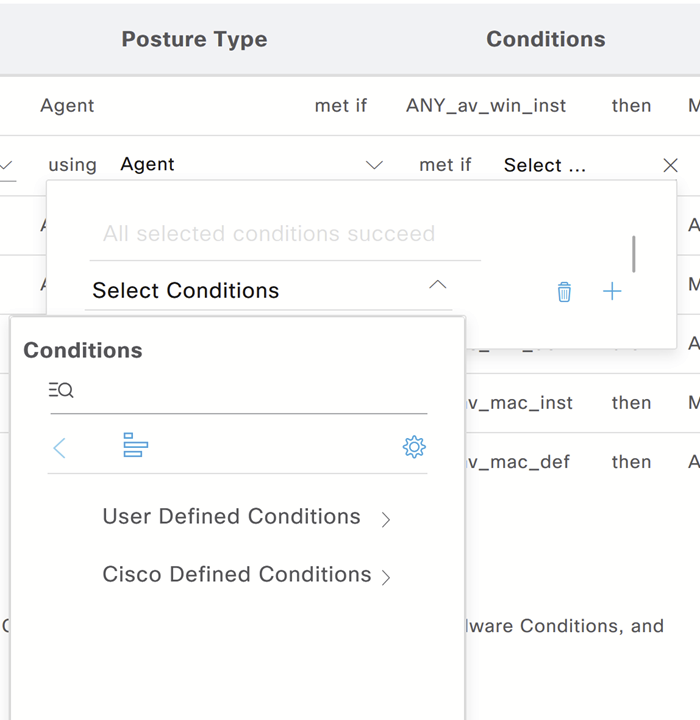
Step 1> Create a condition: Navigate to Policy > Policy Elements > Conditions > Posture – Click Add. For this post, we are configuring a firewall condition for Windows machines.
Note: We can create multiple conditions and use them in posture requirements.
Cisco ISE posture configuration – Posture Requirement
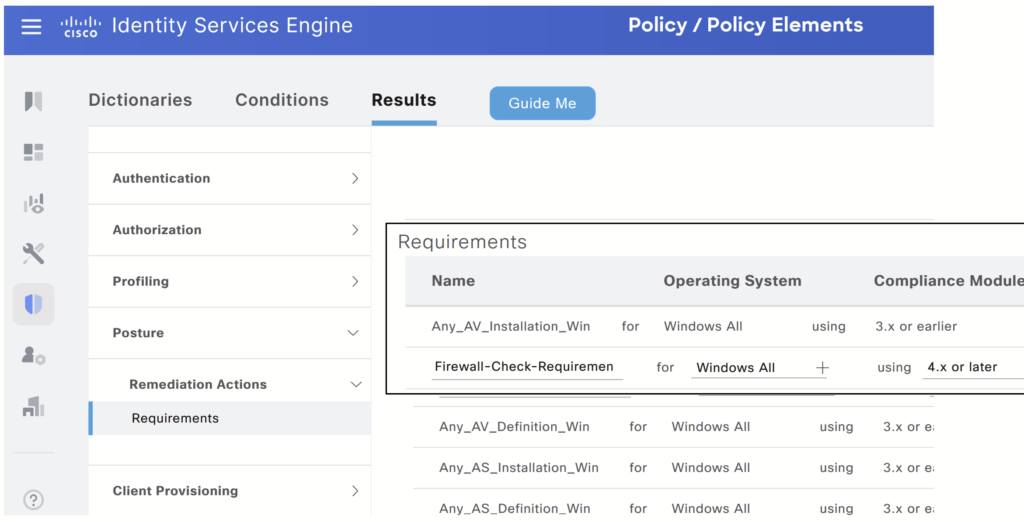
Step 2> Create a Requirement: Navigate to Policy > Policy Elements > Result > Posture > Requirements – Scroll to the right and click on the down arrow to select Insert New Requirement. For this post, we are configuring one requirement.
Note: We can create multiple requirements.
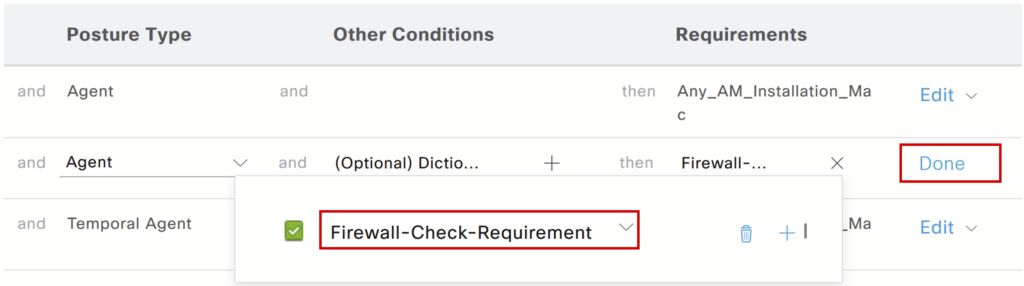
Give a name to the requirement, Select Windows All as an Operating System, and Select Compliance Module.
Select the firewall condition under User Defined Conditions.
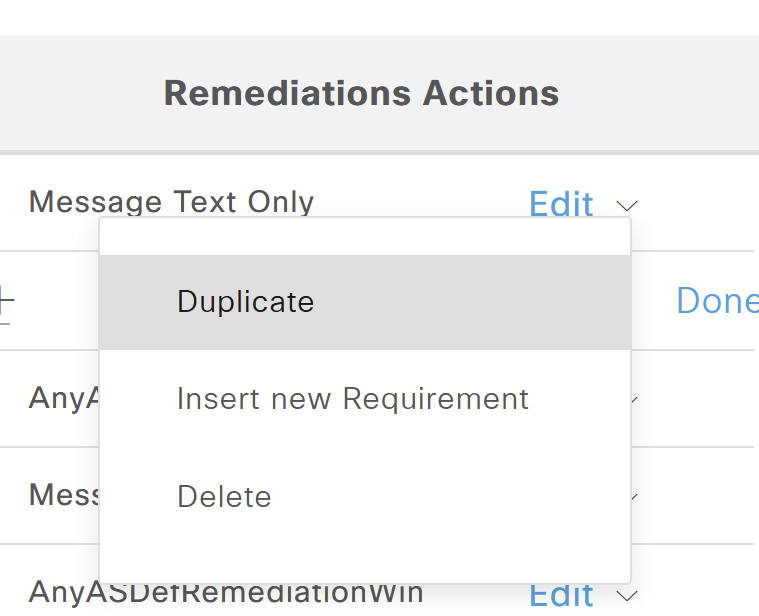
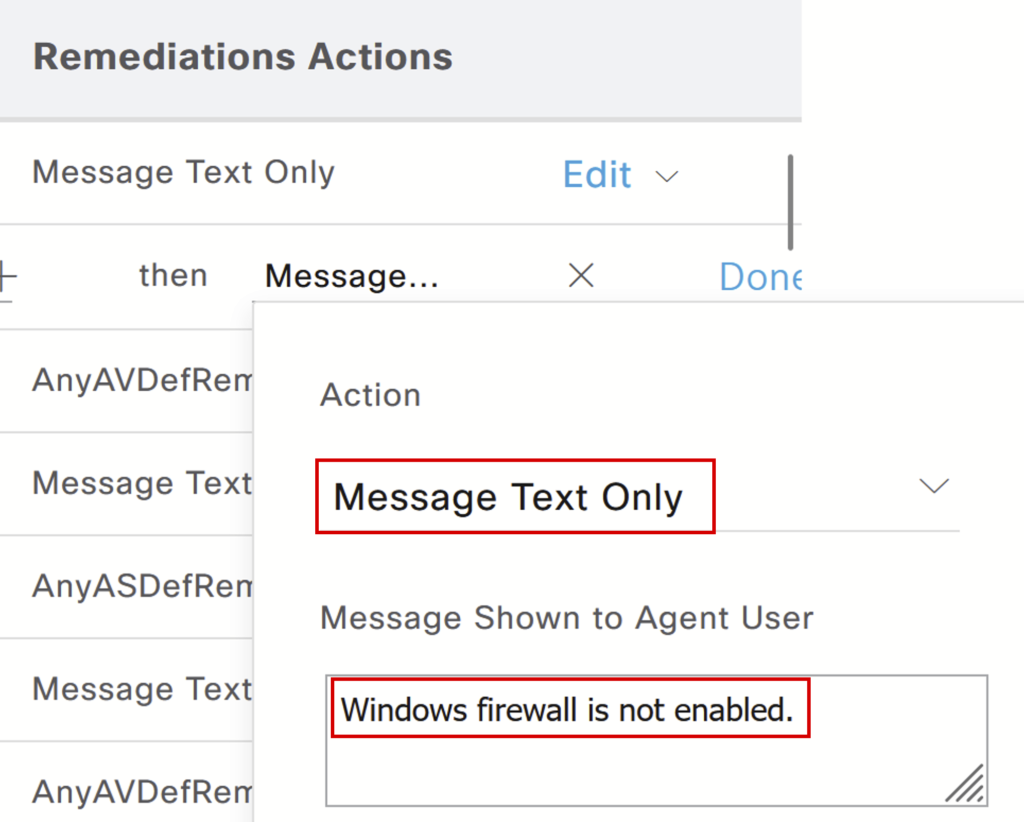
Select Remediation Action: When the device is non-compliant, the user will receive a message.
Click Done and Save.
Cisco ISE posture configuration – Posture Policy
Step 3 > Create posture policy: Navigate to Policy > Posture – Scroll to the right and click the down arrow to select Insert New policy.

Select the configured requirement, click Done, and Save.
Cisco ISE posture configuration – Client provisioning Policy
Step 4> Create Resources:
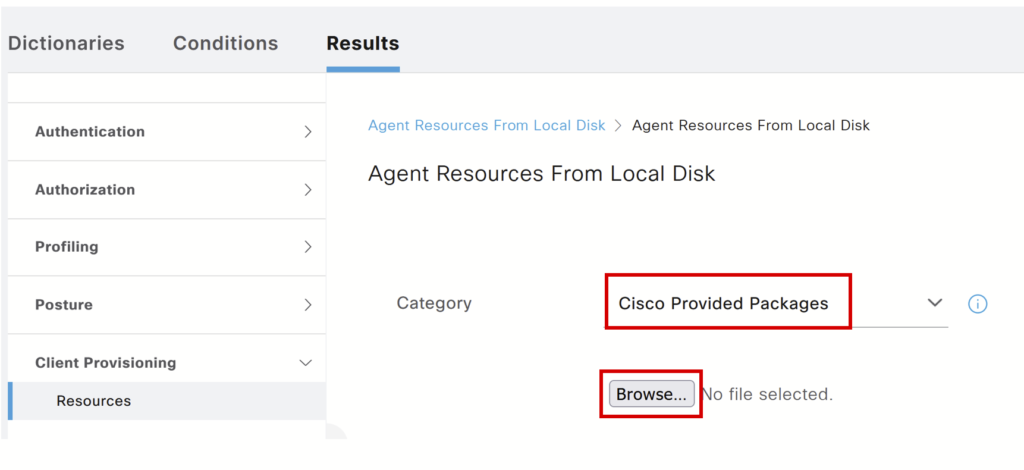
a) Upload Any connect package: Navigate to Policy > Policy Elements > Client Provisioning > Resources – Click Add and upload the Cisco Secure Client Headend Deployment package file (cisco-secure-client-win-x.x.x-webdeploy-k9.pkg). You can download the file from the Cisco software website.
Select Cisco-provided packages, Browse, Confirm, and Submit.
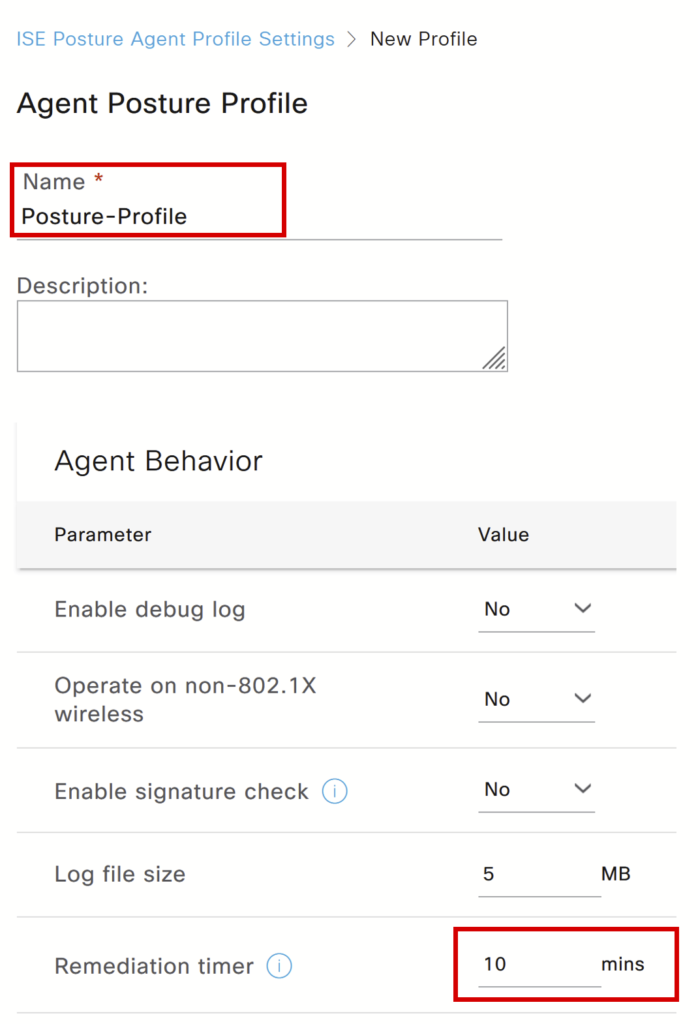
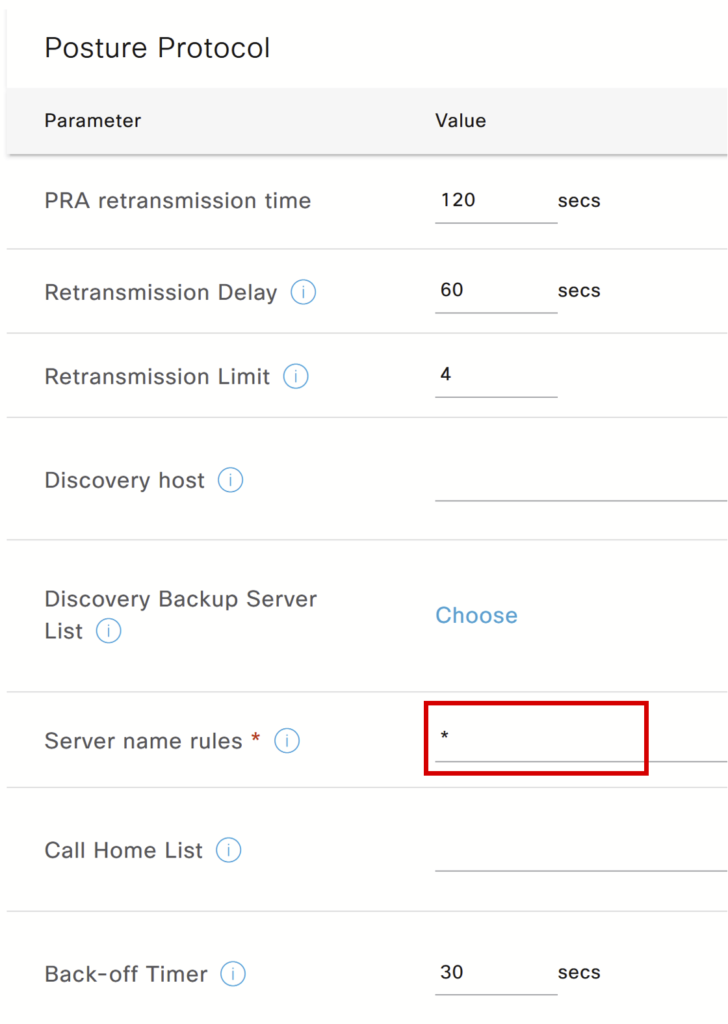
b) Create Posture Profile: Click Add and select Agent Posture Profile.

Give a name to the profile, update the fields as shown in screenshots, and leave the rest as default. Click Save.
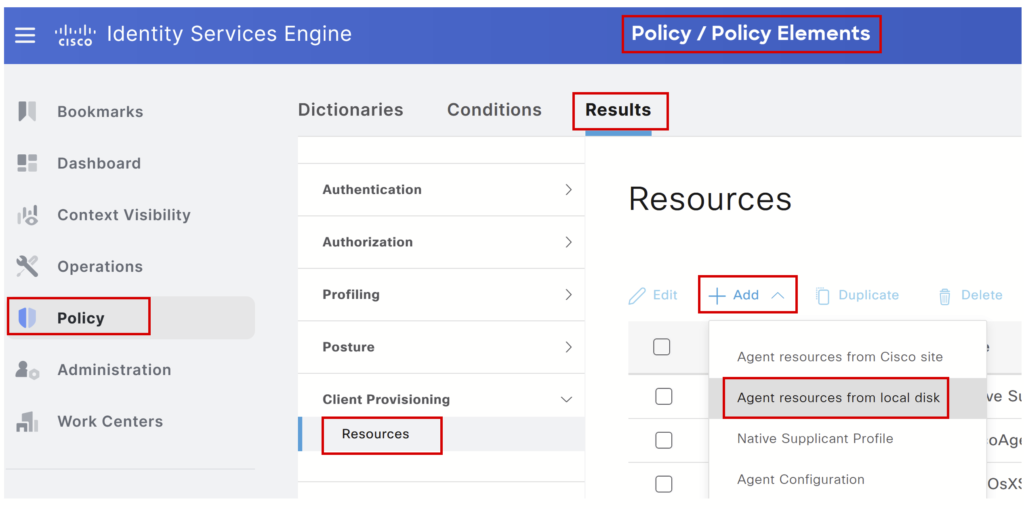
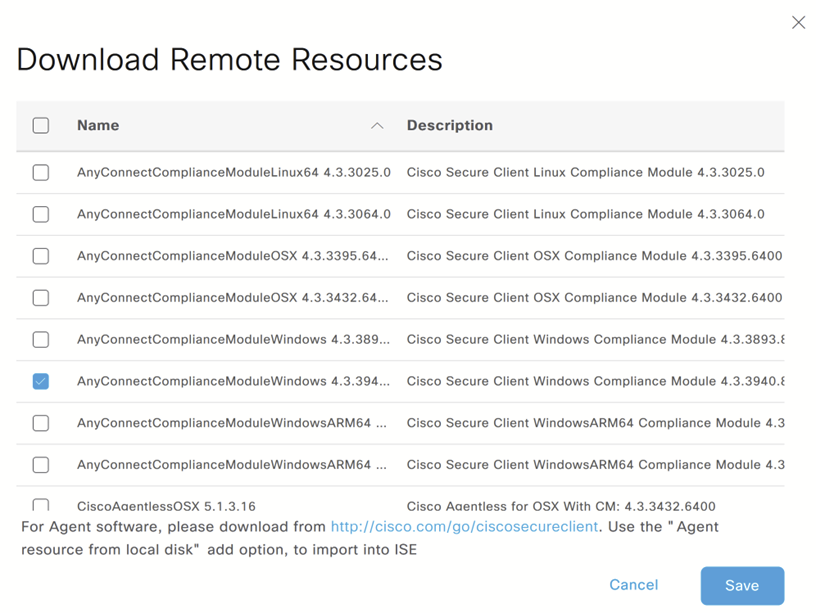
c) Download compliance module: Click Add, select Agent resources from the Cisco Site, and download the latest compliance module. Ensure ISE has internet access.
d) Create Agent Configuration: Click Add and select Agent package.
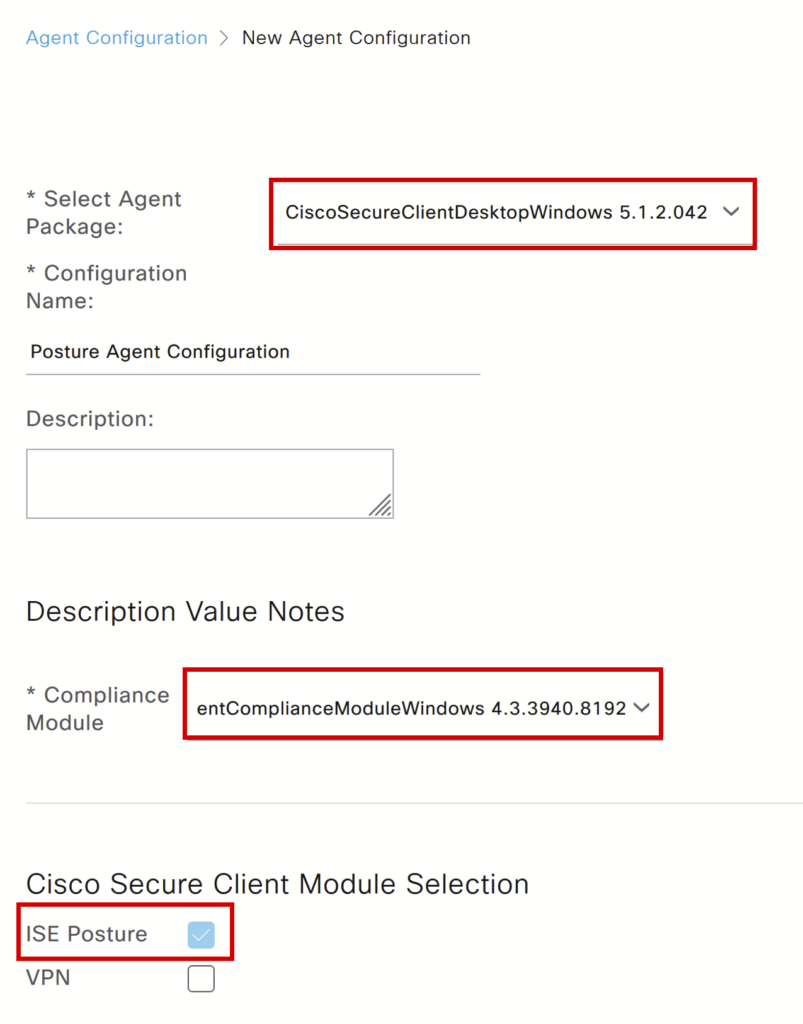
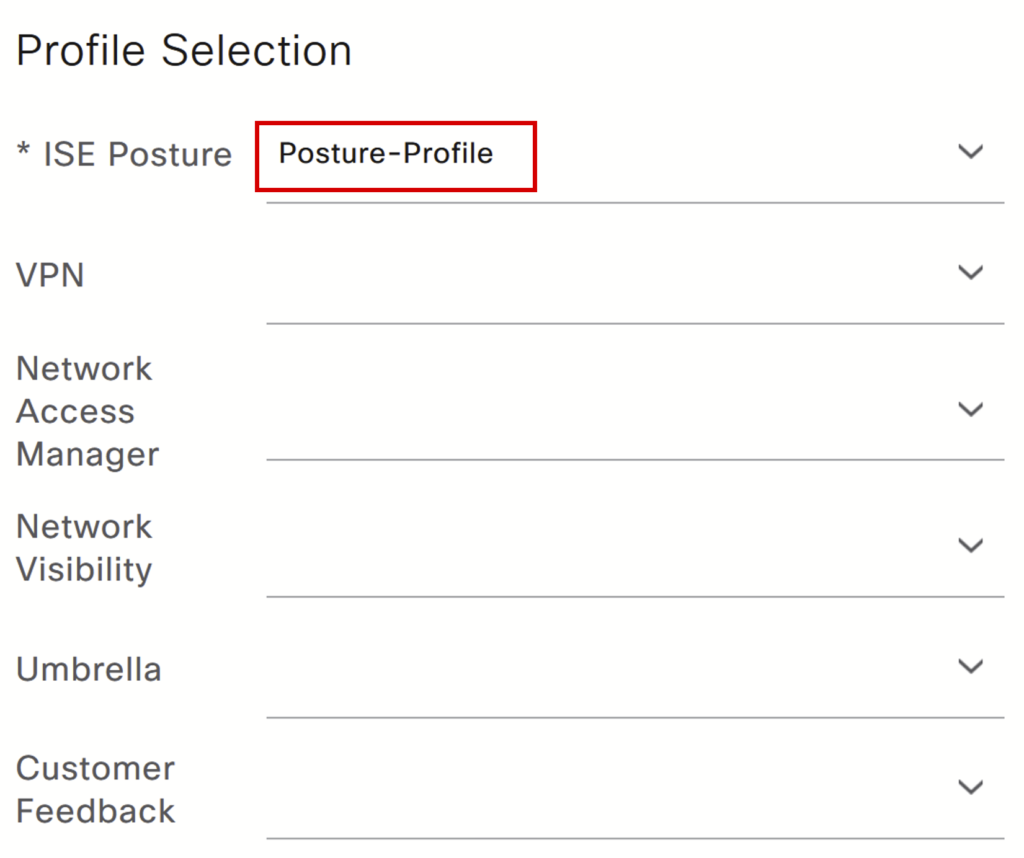
e) Create a client provisioning Policy: Navigate to Policy > client provisioning.

Cisco ISE posture configuration – Authorization Policy
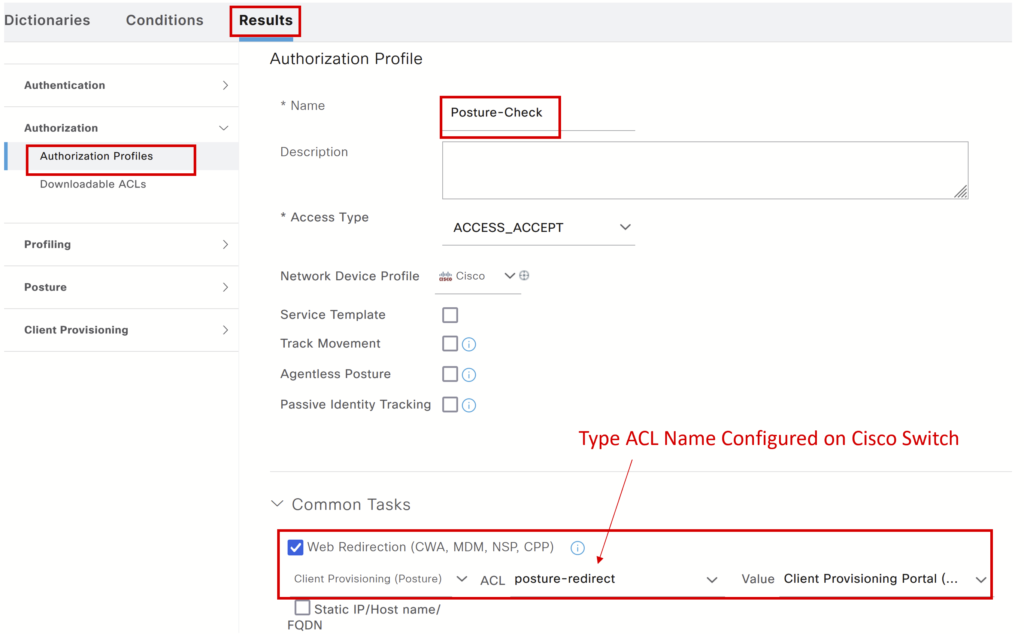
Step 5> a) Navigate to Policy > Policy Elements > Result > Authorization > Authorization Profiles – Click Add
Note: In case of a connectivity issue with the endpoint, add a DACL to the authorization profile.
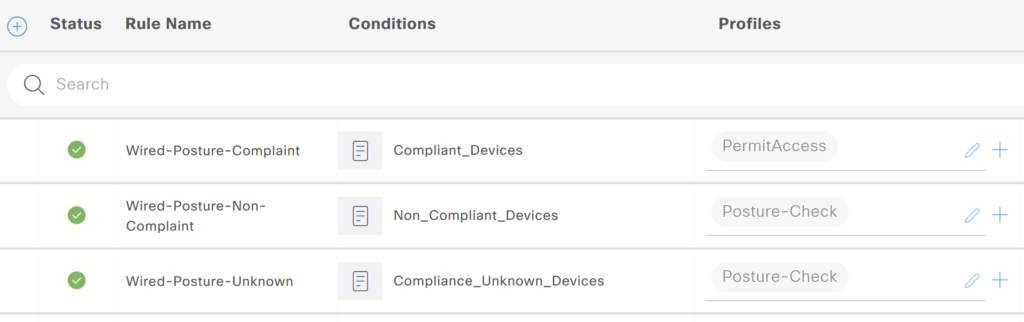
b) Create 3 Authorization rules under the policy set:
- Unknown posture status: Initially the device status will be unknown.
- Noncompliant posture status: The endpoint that doesn’t meet the compliance will hit this policy.
- Complaint posture status: The devices that are found to be compliant during the posture scan will hit this policy.
These posture conditions are predefined on the configuration we need to drag and drop.
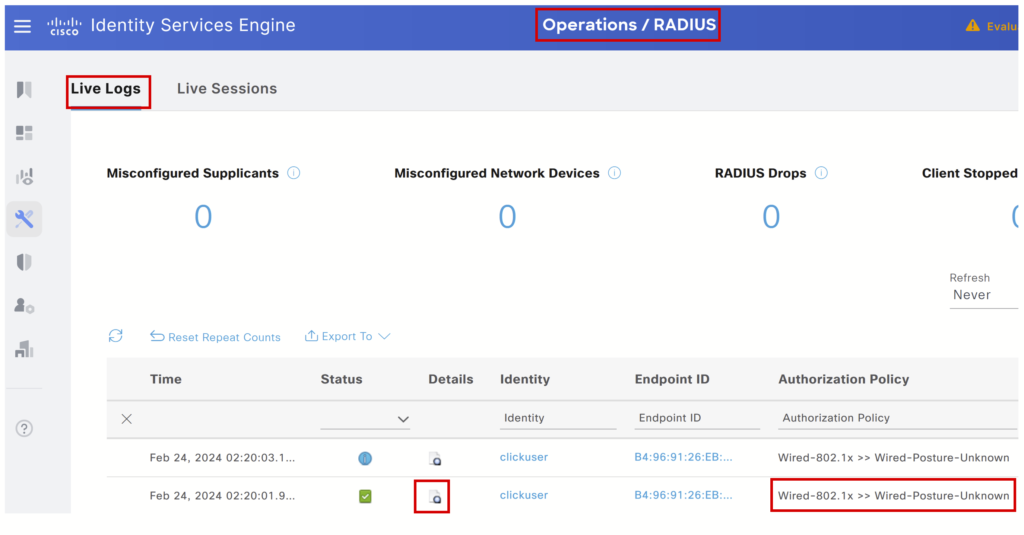
Radius Live logs:
Cisco ISE posture Configuration – Endpoint Tasks:
Step 6> We are assuming that ISE has 3rd party CA-signed certificate.
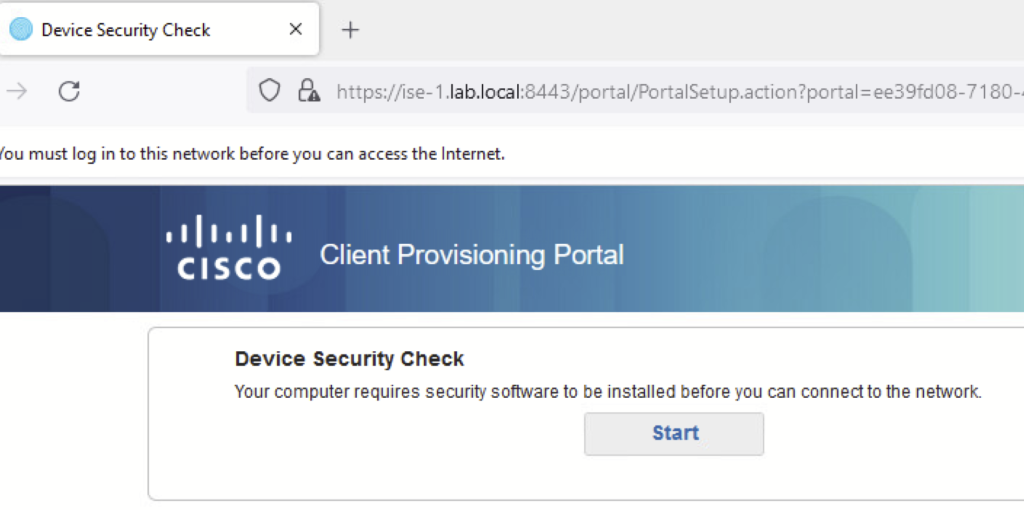
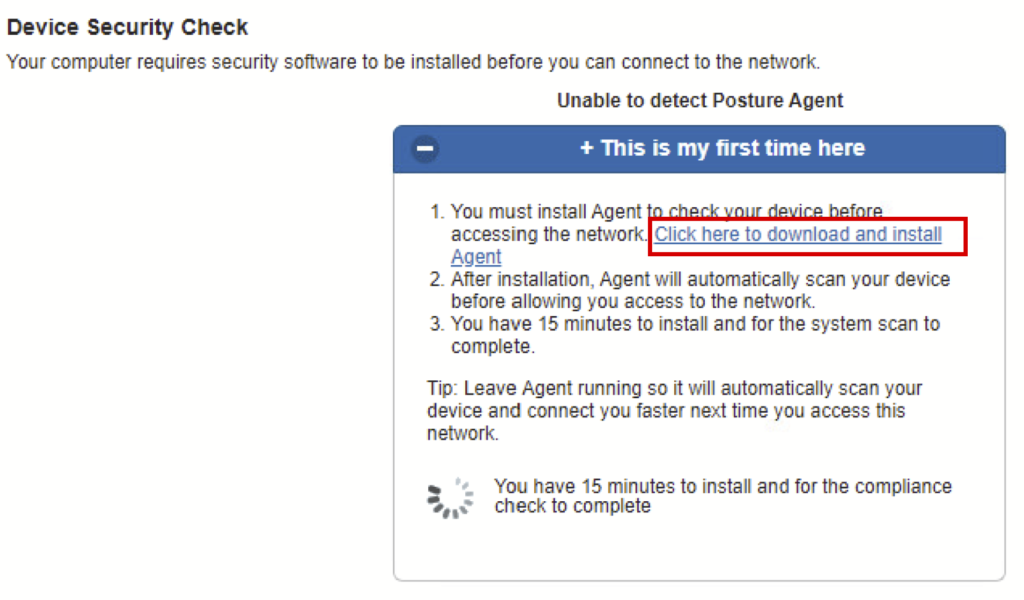
a) Browser opens automatically. It redirects the user to the client provisioning portal. Click on the start button for provisioning.
‘
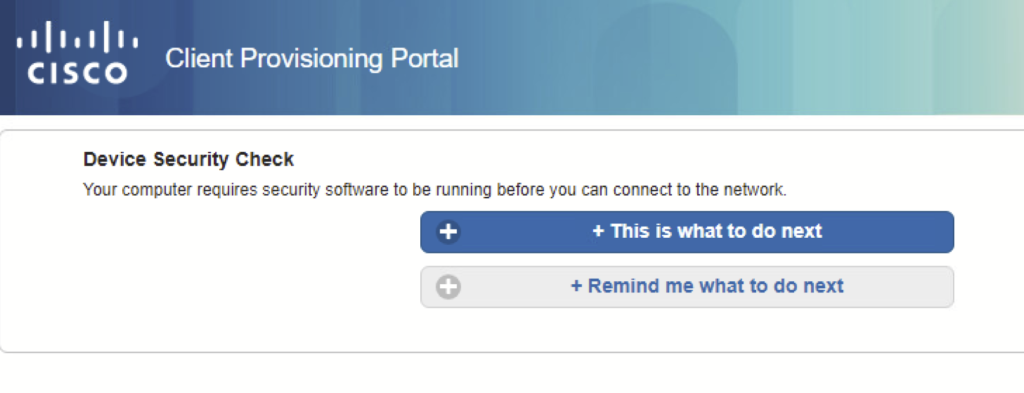
Click on “This is what to do next“.
b) Download the file.
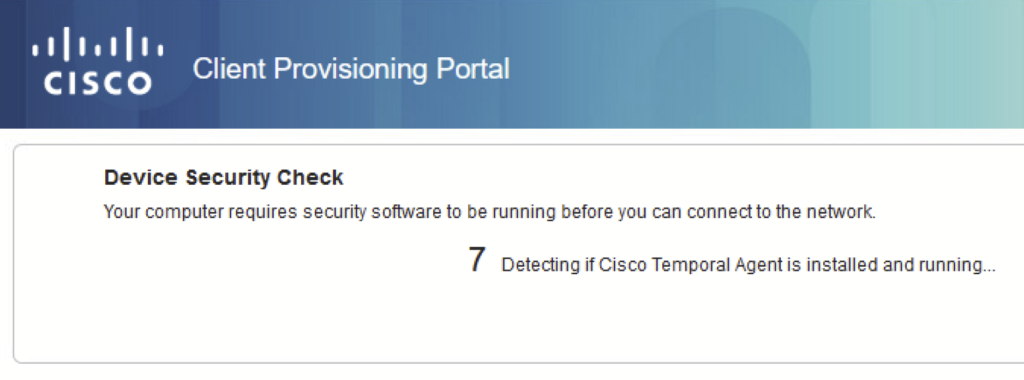
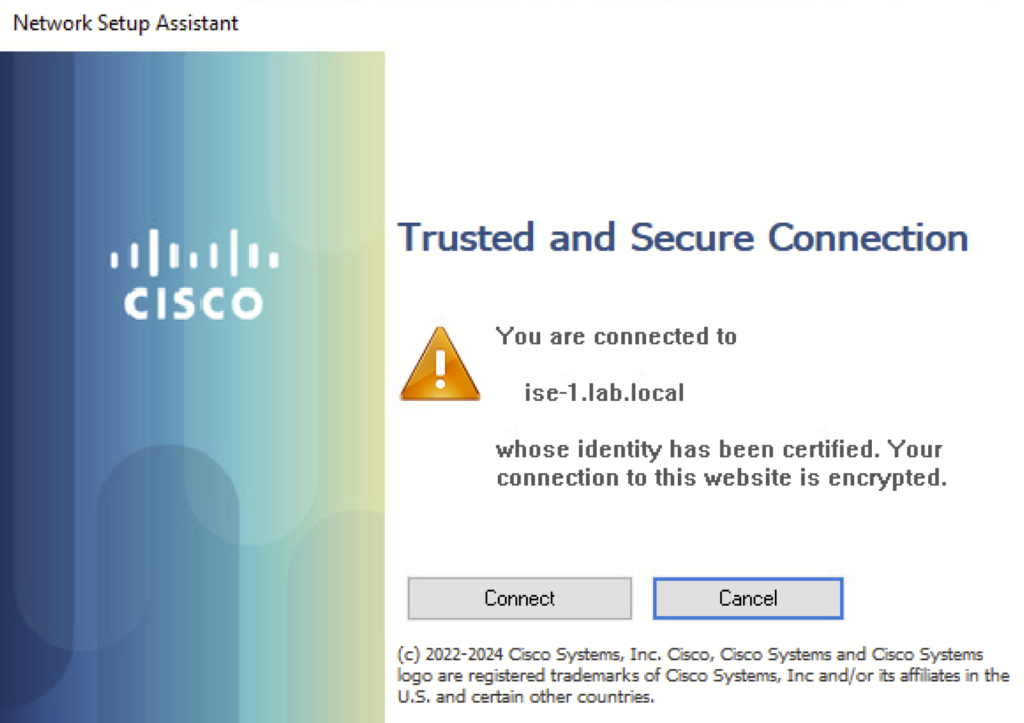
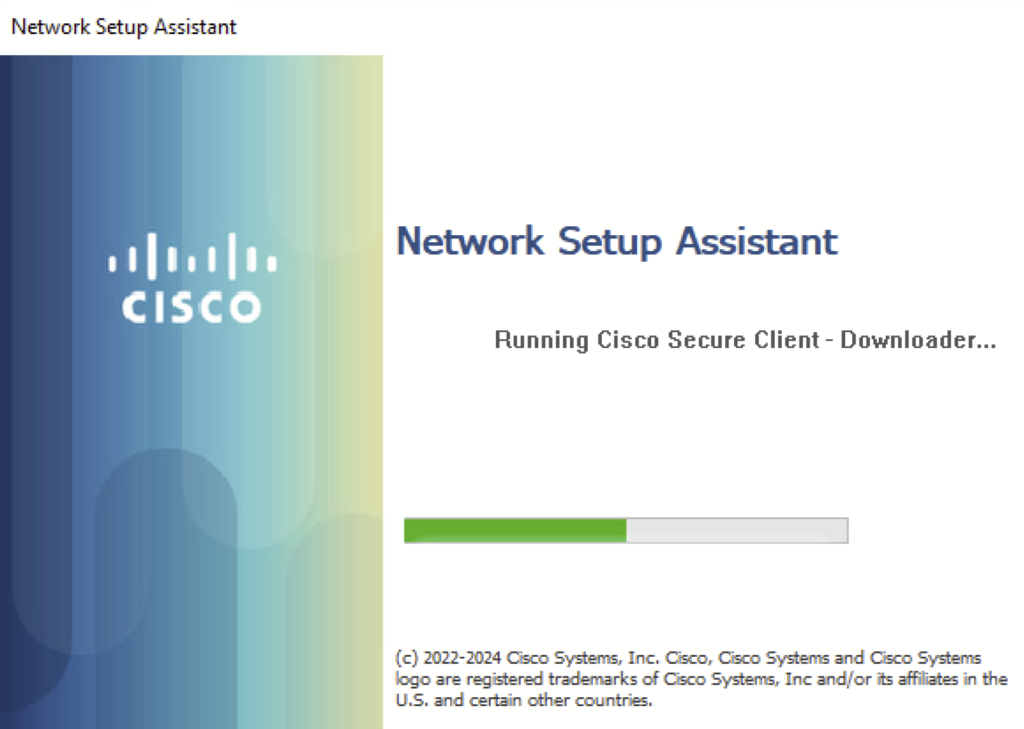
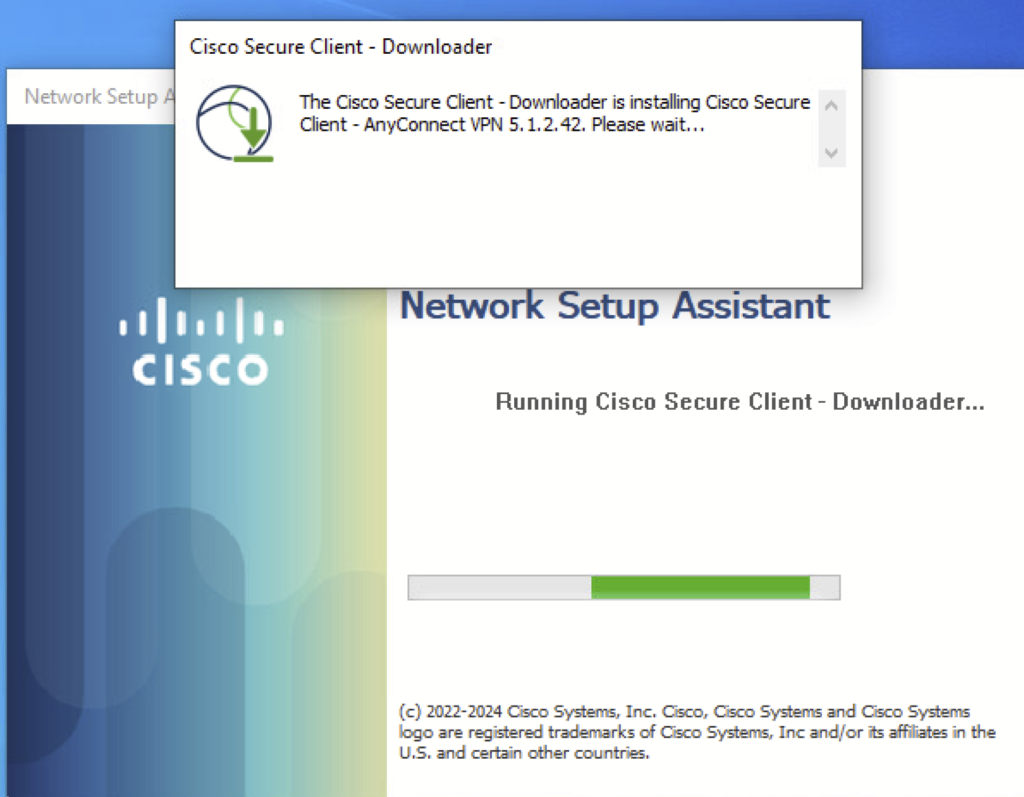
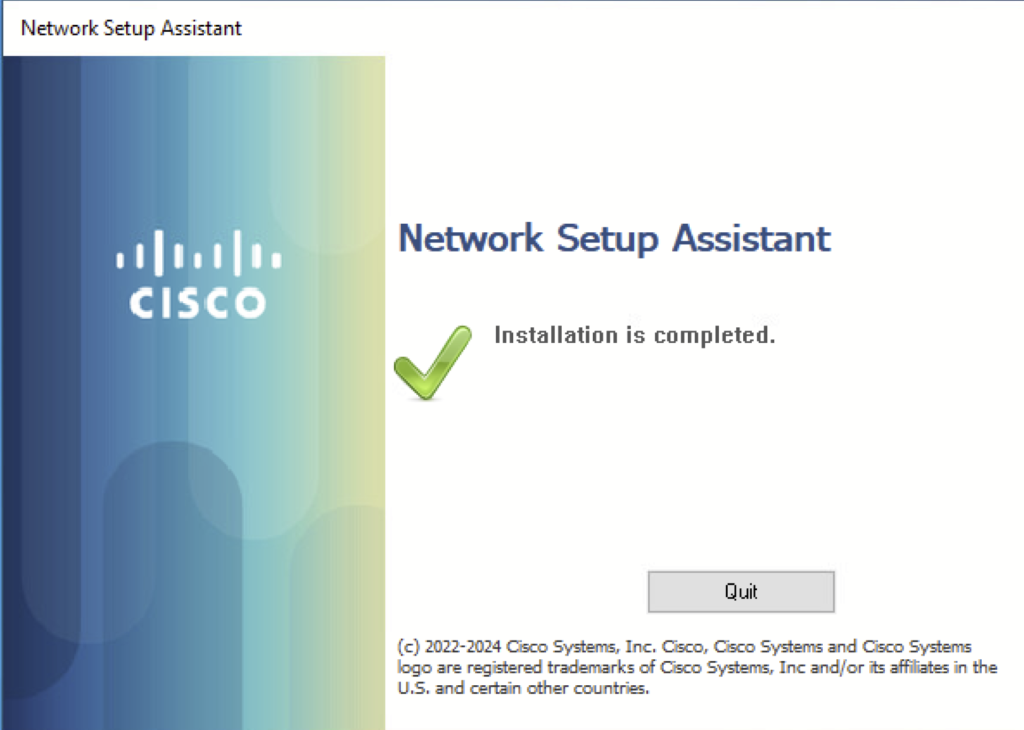
c) Run the downloaded file. A network setup Assistant will open. Click Connect. During installation, we will see the following prompt.
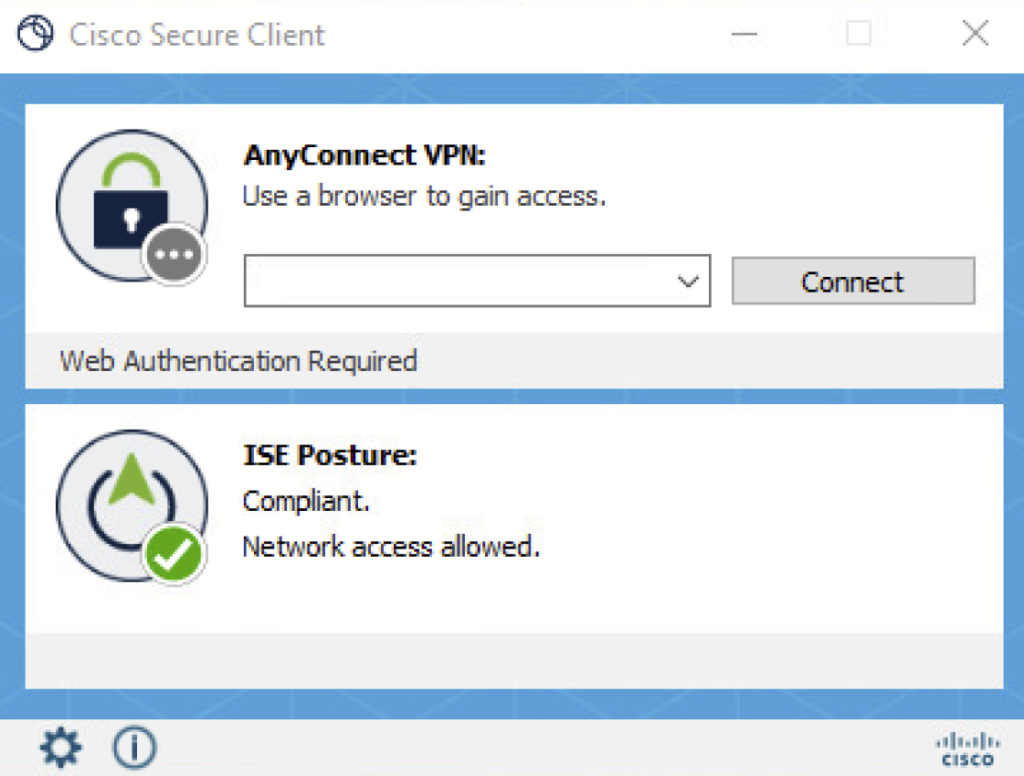
Once the agent is installed it’s going to check for the requirements configured on the ISE and send the report back to ISE. A complaint status is shown below.
Refer to the posture remediation document to configure remediation actions.